
Introduction
What are AWS Lambda Layers?

Lambda Layers are ZIP archives containing libraries, custom runtimes, or other dependencies. You can attach up to 5 layers to a Lambda function, and AWS merges them with your function code at runtime.
This separation allows for:
- - Code reuse across multiple functions
- - Smaller deployment packages
- - Easier dependency management
Creating a Lambda Layer
Prepare the Layer Content
    mkdir -p lambda-layer/nodejs
    cd lambda-layer/nodejs
    npm init -y
    npm install lodash
Package the Layer
In order to publish our layer to production and make it shareable across functions, we first need to package it into a ZIP file. The ZIP file structure is important for Node.js layers, dependencies must be placed in a 'nodejs/node_modules' directory.

  cd ..

  //zip
  zip -r lodash-layer.zip nodejs

  //tar
  tar -a -cf lodash-layer.zip nodejs
Publish the Layer
Now that our ZIP file is ready, we can publish our Layer using the AWS CLI. The AWS CLI provides commands to create and manage Lambda layers directly from the terminal. This allows us to automate the layer publishing process and integrate it into our deployment workflows.
aws lambda publish-layer-version \
 --layer-name lodash-layer \
 --description "Lodash for Node.js Lambda" \
 --zip-file fileb://lodash-layer.zip \
 --compatible-runtimes nodejs18.x nodejs20.x
After executing the command, we can see that it returns important information about the layer, including the ARN (Amazon Resource Name) which we'll need to reference the layer later.
Now if we check the AWS Console, we'll find that our lodash-layer has been successfully uploaded. While it's possible to publish layers directly through the AWS Console UI, I prefer using the CLI for better automation and version control capabilities.

Use the Layer in a Lambda Function
Now that we have our layer published, we need to attach it to our Lambda function. We can do this in two ways: either through the AWS Console's UI, or programmatically using the AWS CLI and I'll show you the CLI command in just a moment but first we need to create a lambda function and deploy it in order to test our layer.
  mkdir doodooti-fn
  cd doodooti-fn
  touch index.js
// index.js
// this will be imported from the layer
const _ = require('lodash');
exports.handler = async (event) => {
// Use lodash as usual
return _.capitalize('hello from lambda layer!');
};Now that our function is ready, we can deploy it and link it to the Lodash layer. To do this, we first need to zip the function and use the AWS CLI to publish it. Don't forget to create an IAM execution role first, as it's mandatory for deploying Lambda functions.
  zip doodooti-fn.zip index.js

  aws lambda create-function \
  --function-name doodooti-fn \
  --runtime nodejs20.x \
  --role arn:aws:iam::ACCOUNT_ID:role/EXECUTION_ROLE \
  --handler index.handler \
  --zip-file fileb://doodooti-fn.zip \
  --layers arn:aws:lambda:us-east-1:ACCOUNT_ID:layer:lodash-layer:1
After executing the deployment command and receiving a success response, we can go to the AWS Console and verify that the function was deployed successfully.
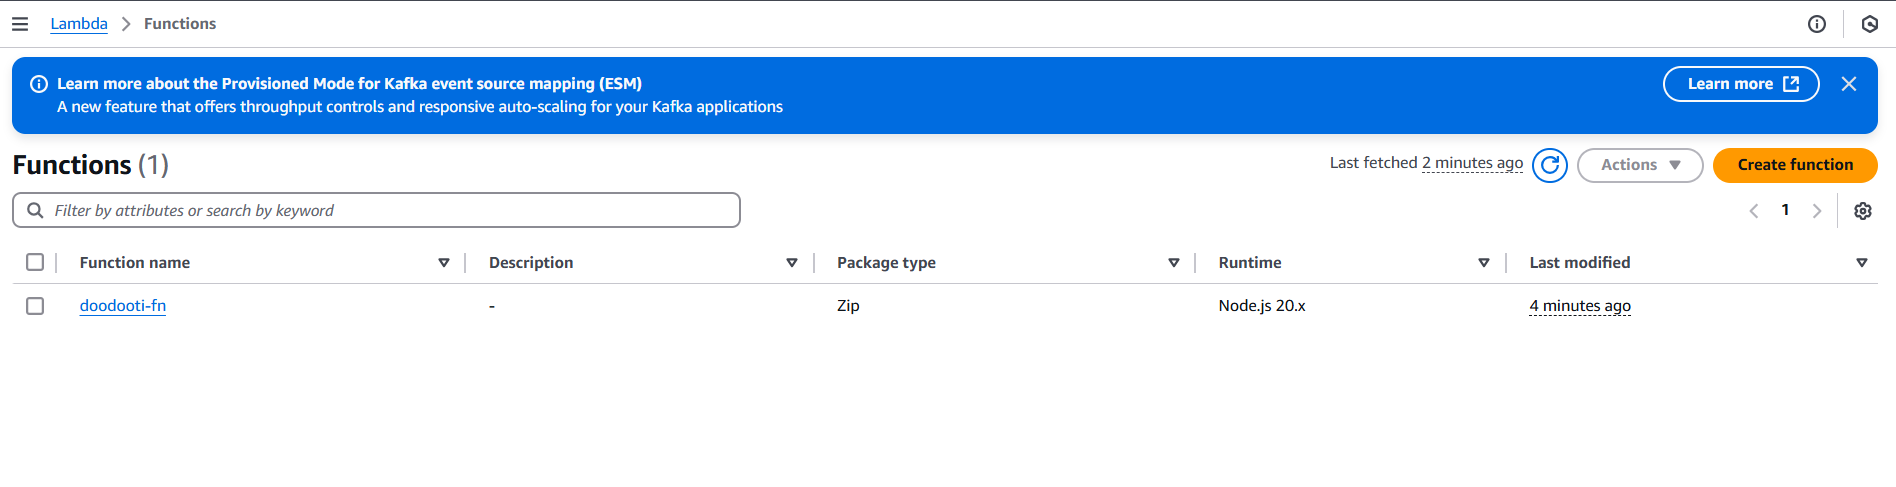
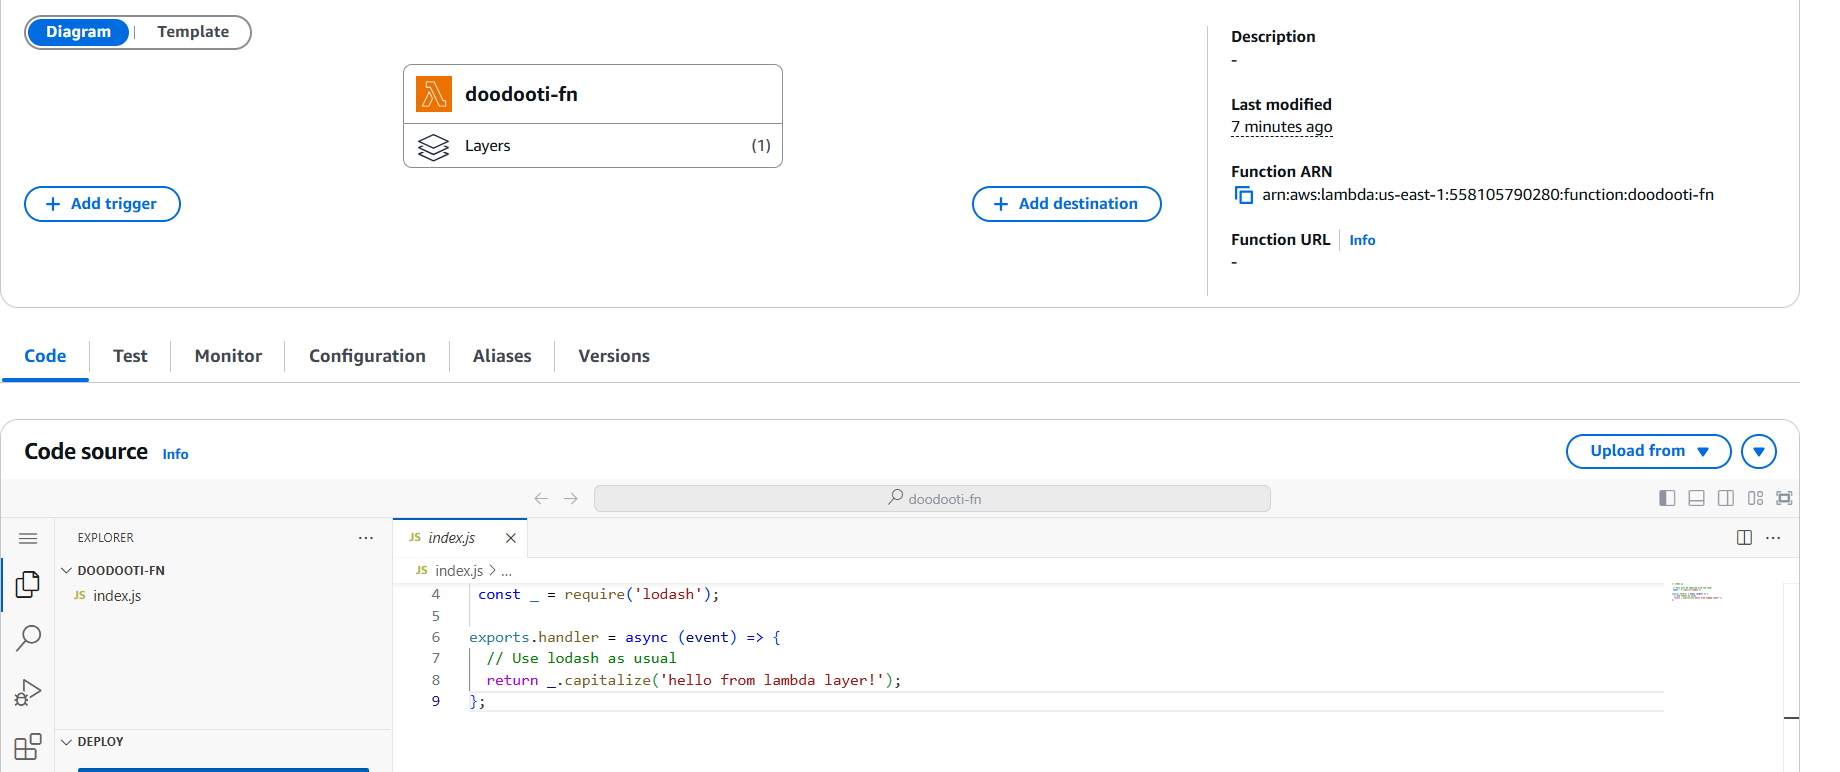
When we click into it, we can see that it has one layer attached and we can also view the function code.
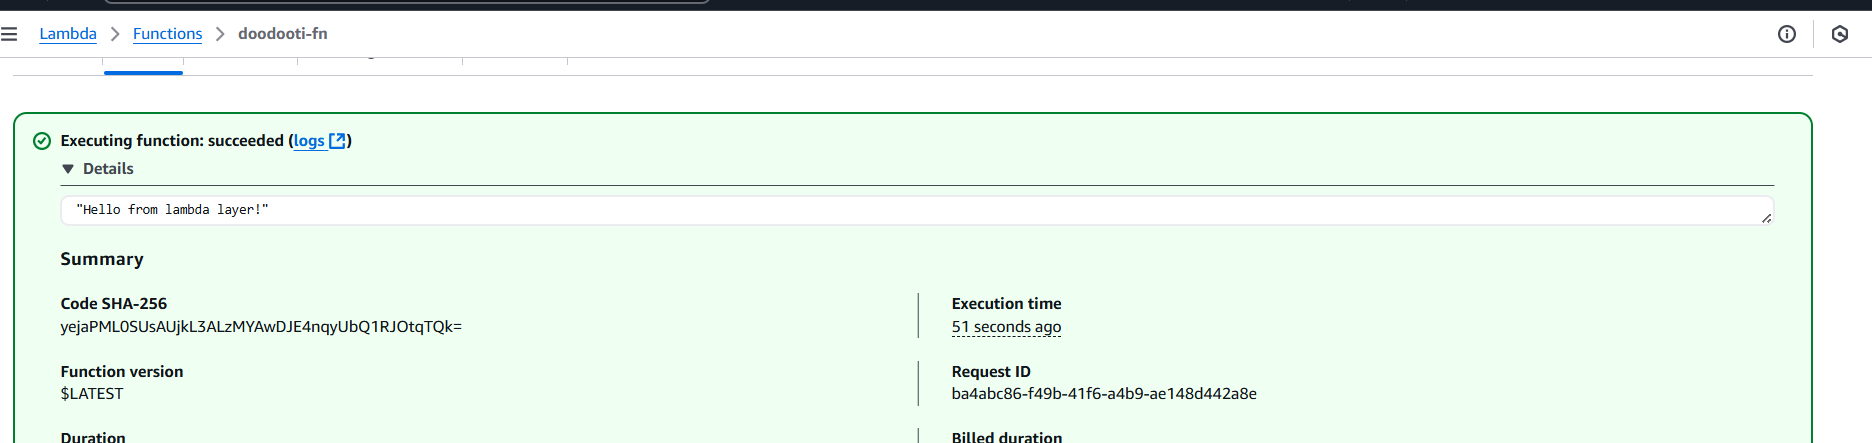
We can also go to the Test tab and test our function's behavior by creating a test event with any input payload. Since our function doesn't use the event parameter, we can leave it empty. After running the test, we should see the capitalized string "Hello from lambda layer!" in the execution results, confirming that our Lambda function is working correctly with the Lodash layer.
Sharing Custom Code
Besides sharing dependencies, Lambda Layers also allow us to share utility code that can be used across multiple functions.
// lambda-layer/nodejs/utils.js
module.exports.hello = () => 'Hello from shared utils!';
// will be imported from the layer
const utils = require('utils');
exports.handler = async (event) => {
return utils.hello();
};Custom runtimes
Lambda Layers also enable us to create custom runtimes for languages that AWS Lambda doesn't natively support. By packaging the necessary runtime components, such as interpreters and language-specific libraries, into a layer, we can extend Lambda's capabilities beyond its built-in runtimes. This approach gives us the flexibility to run functions in our preferred programming language while maintaining the serverless benefits of AWS Lambda. While we won't deep dive into custom runtimes as they require complex implementation details, some examples include Rust, C++ runtimes that the community has created.